
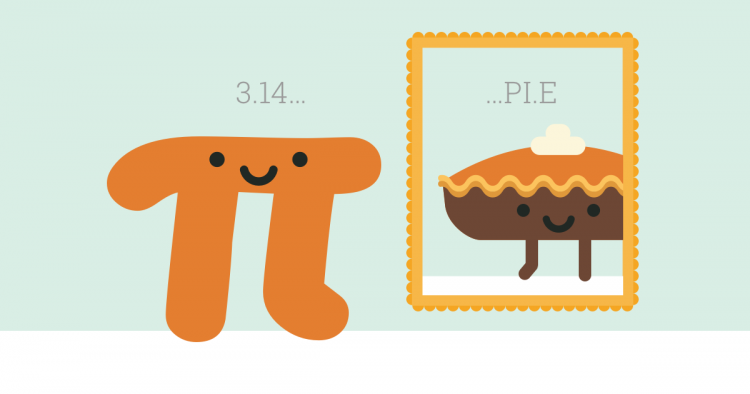
Pie Baking for Pi(π) Day!
Introduction
Pi day is just around the corner! And while no one has been able to memorise all the digits of pi, Siona and Shreya have managed to memorise (more or less) all the steps to make pi(e)! Check out all of the pies the cooking duo created!
Part I: Shreya’s Pies!

Making these pies was a novel experience, full of ups and downs. I had never made a pie before, so we made it as a family, as it was a ride. The first step was listing out the ingredients. Now, if you know me, following a recipe isn’t as fun as making things yourself. I almost approached it like designing a robot: what is the goal? Creating a pie (later changed to two pies). What parts are needed? A crust, something inside, and something to put on the top. Okay, now how will I get it? The crust can be store-bought, either the graham cracker or normal crust. What will be inside? Well, that could be whatever we buy at the store. Finally, what goes on top? For this, my father decided to make a dough. He put flour in water then kneaded the substance into a dough. When asked if eggs (or anything else really) are needed, he said no. Next, it was shopping time.
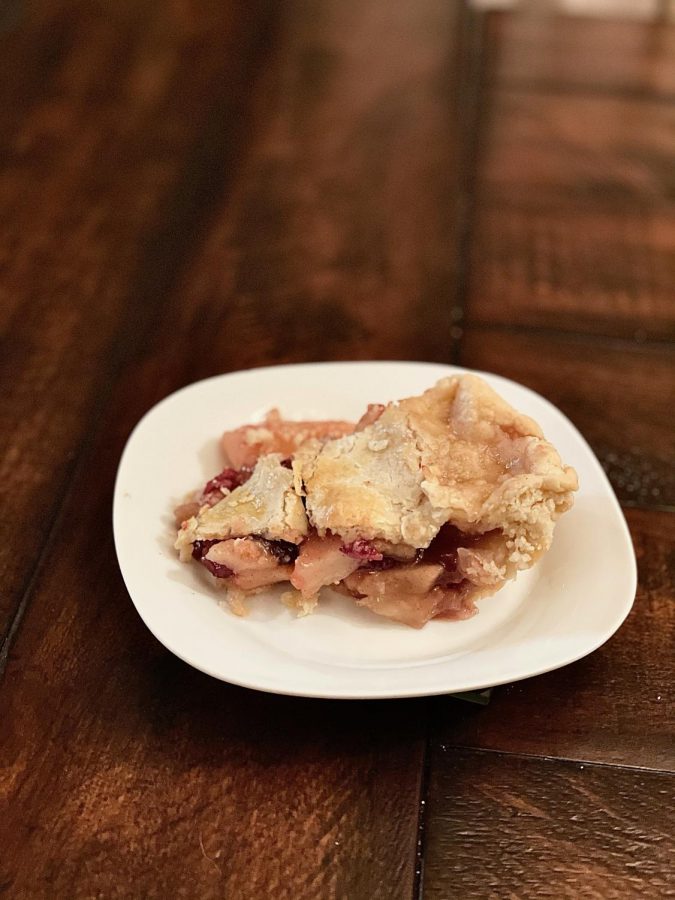
I decided that I’ll go with two pie flavors and two crusts: peach and apple and graham cracker and normal. My family and I first started with the peach pie. We decided to match that with the normal crust. I learned how to open a can, and I poured two cans full of peaches into the pie crust, evenly distributing it inside the crust. We decided to make a lattice for this pie, so we cut up the dough my father made and started weaving the strips. Finally, we put it in the oven. Next, we started with the apple pie, this time using the graham cracker crust. We only needed to put in about 1.5 cans of the apple (and, yes, I could open the cans all by myself this time). Finally, we put a circular sheet of dough on the top, carved a pi symbol onto it, and put it in the oven to cook.
Part II: Siona’s Pies!
The first pie I decided to bake in celebration of Pi Day is, of course, a classic strawberry pie! I made this pie right after the frigid snowstorm, so this was definitely a much-needed treat! In fact, the reason I decided to make strawberry pie is because when I went to the grocery store after the snowpocalypse, they were ALL out of blackberries (I went to the grocery store with the intention of making blackberry pie)! However, they were stocked with strawberries, so I decided … why not make strawberry pie! Plus, what screams “spring-time” more than strawberry pie? Upon arriving home from the chaotic, post-snowpocalypse grocery store, I made the pie dough! Using Simply Recipes’ Perfect Pie Crust Recipe, I used a food processor to mix the flour, sugar, salt, butter, and ice water (boiled, of course, and then cooled because of, once again, the snowpocalypse)! I then formed the dough into two disks and left it to cool in the refrigerator for an hour! After an hour, stretched the first disk to thirteen-inches and used it to cover a nine-inch pie pan. Using Fork Knife Swoon’s Lattice Top Strawberry Pie Recipe for the filling, I cut up five cups of strawberries into quarters and mixed the ingredients (you can take a peek at the recipe for a full list of ingredients)! I think, in the end, it was the addition of balsamic vinegar that really brought out the flavor of the strawberries — the filling was sweet, but it wasn’t too sweet. I often feel that, when buying strawberry pies at the grocery store, the strawberry filling is a sickly-sugary-sweet. However, this recipe struck a perfect balance of sweetness — I highly recommend trying it out! I also substituted the arrowroot starch with cornstarch and it worked out perfectly! After pouring the filling into the pie crust, I used the second disk of dough to create the lattice pattern on the top. If you don’t know how to do a lattice pattern, I highly recommend checking out Inspired Taste’s video on How To Make a Lattice Pie Crust. I skipped the part of Fork Knife Swoon’s Lattice Top Strawberry Pie Recipe that suggested keeping the pie in the refrigerator to cool for ten to fifteen minutes as I was running short on time. I popped it straight in the oven, 400ºF for the first 25 minutes and 375º for the next 35 minutes. Once the filling was bubbling and the crust was golden-brown, I took the pie out to cool! After about an hour of cooling, the pie was ready to enjoy! And there you go, a strawberry pie! If you are a pie-enthusiast, I highly recommend checking out this recipe — it’s the perfect combo of fun and simple!
The second pie I decided to make in celebration of Pi Day is a winter fruit pie! It was definitely quite a change from the springy feeling of the strawberry pie, but March is the borderline month between winter and spring — so why not include both a winter and spring pie! The first step of making this winter fruit pie is the dough! I made the dough with the same dough recipe I used for the strawberry pie, Simply Recipes’ Perfect Pie Crust Recipe. I used a food processor to mix the flour, sugar, salt, butter, and ice water (we were finally off the boil-water notice, so I didn’t have to boil my water like last time)! I then formed the dough into two disks and left it to cool in the refrigerator for about five hours this time! That afternoon, I stretched the first disk to thirteen-inches and used it to cover a nine-inch pie pan. I then made the filling using The Kitchen Magpie’s Winter Fruit Pie Recipe. I am not the biggest fan of raisins so I replaced them with walnuts, which was actually a very nice addition. I mixed the one cup dried cranberries with one cup walnuts, then threw in the sliced and peeled fruit — three cups sliced and peeled Honeycrisp apples and three cups sliced and peeled red Anjou pears, for a total of six cups of fruit. After sprinkling vanilla extract over the cranberry-walnut-fruit mixture, I mixed the dry ingredients — brown sugar, corn starch, cinnamon, cloves, and nutmeg — and added it to the mixture. I poured the mixture into the bottom of the pie crust and then started rolling out the second dough disk to create the top of the pie crust. I watched ZoeBake’s Video to learn how to make a double crust, and, after following the instructions, I had my double-crust made. I cut slits in the top of the crust for ventilation and used an egg-wash as the final touch! After that, into the oven it went! I foiled the edges and let it sit at 425ºF for 10 minutes and then 350º for 40 minutes. I then took the foil off the edges and left the pie in for an additional 20 minutes. When the crust was golden and the filling was bubbling, I took the pie out to cool. After about an hour of cooling, the pie was ready to enjoy! And there you go, a winter fruit pie! If you are looking for a fun and tasty winter treat, I highly recommend checking out The Kitchen Magpie’s Winter Fruit Pie Recipe — it’s sure to make your tastebuds smile!
Conclusion
There you have it: Shreya and Siona’s pie recipes for Pi Day! We hope you enjoy making and eating our pie recipes this March 14th! It will definitely be a much-needed treat after a challenging one year of distance learning — take a break from screens and enjoy some much-needed time in the kitchen. We hope you grow to love the beautiful aromas of pie-baking as much as we do — Happy Pi Day!

Siona Manocha, a senior, has attended Keystone School since kindergarten. Through The Keynote, Siona employs the use of visual art and media to highlight...

Shreya Chaudhary is a senior planning to major in data science or computer science. She interns with TigerGraph, promotes and tutors women in STEM through...